Monday, 13 August 2012

Candy heaven: Sea salt and chocolate caramels


Word of advice readers. Pinterest is dangerous.
There's too much food porn on it. There you are, minding your own business then bam! you're in your kitchen making caramels. And you bought yourself a food thermometer. So you know, things just got serious.
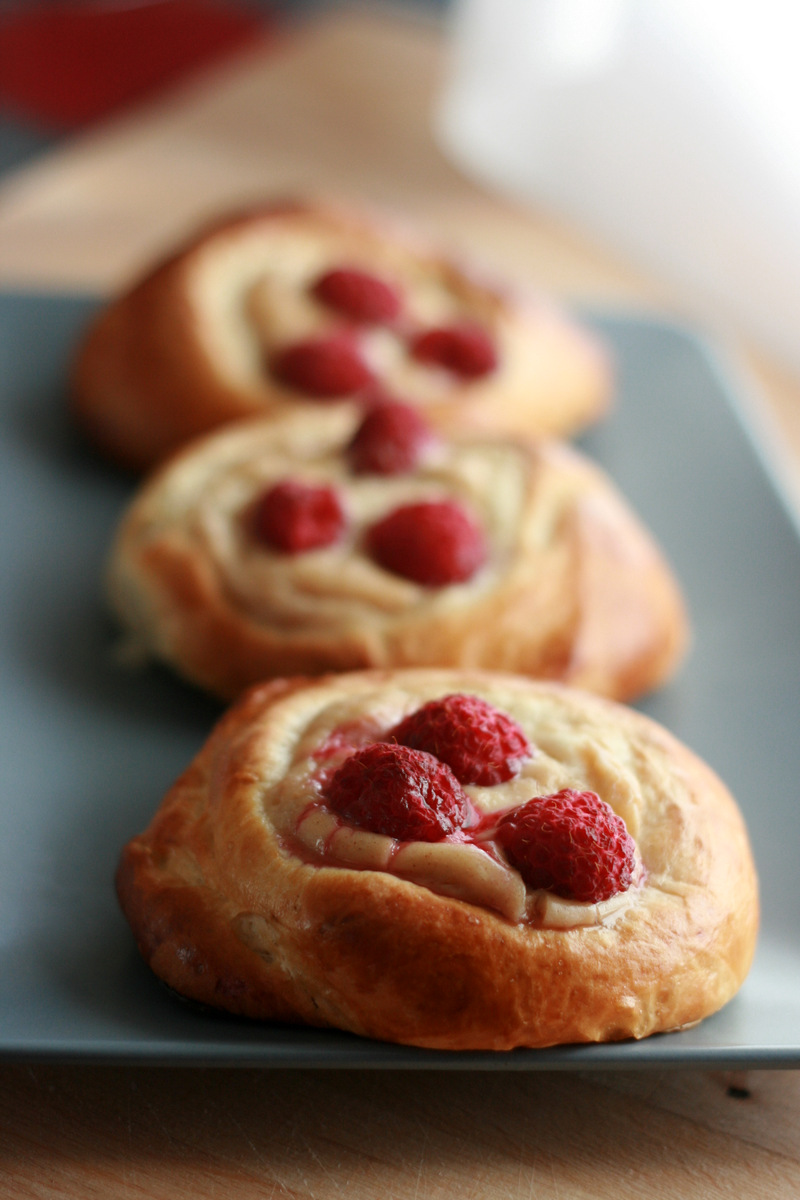
I mean, take a look at the pictures that spurred me on to make these caramels and you tell me: would you be able to resist? Would you?
As I always found making caramel a bit daunting I made sure I read all the instructions carefully before I started. The recipe is definitely not too complicated (talk about 4 ingredients!), but a bit of patience and a food thermometer are a must!


The recipe I used is a modified version from a blog called Centsationalgirl. The post itself was hilarious and had me in stitches, especially when I got near the end and read that the author forgot to add butter to the caramels (by the way, I was laughing at the way that realisation was described. Not lack of butter. That's a tragedy). I love it when bloggers admit they made a mistake - it's really refreshing. This story had me reminiscing about all the kitchen mishaps I experienced. Like the time I tried to make chicken with puff pastry lattice but used filo pastry and ended up with undercooked chicken in charred flakes. Not good.
But back to candy!

The main modification was halving the quantities - just in case this didn't work out; I now know that I'll be making a double portion next time! I also used golden syrup instead of corn syrup as I think it's not that easy to get it here in the UK. I tried dipping my caramels into melted chocolate but as they are quite soft I was leaving my fingerprints everywhere so decided to drizzle chocolate on top instead.


To make a small tray (about 20-25 small caramels depending on how small you cut them) you'll need:


Note: the measurements are in American cups. My cup is 237ml.

Start off by measuring all your ingredients and lining a baking tray with greaseproof paper. Gently oil/butter the paper - you don't want your caramels sticking to it later! Get a big pot and food thermometer ready.

Pour cream into the pot and bring up almost to the boil on medium heat. Reduce the heat and add sugar and golden syrup. Stir very gently and keep cooking on small heat.


The mixture will start getting a bit frothy and will come up. Don't panic and keep the heat on minimum.


Keep cooking the mix for about 25 minutes with the food thermometer in (I'm pretty sure that's how long it took, although at the time it felt like ages!). The mix will change colour to a light golden brown and will keep getting more and more golden.


Once the temperature on the thermometer reaches 240 F add butter and stir very gently (try not to scrape the bottom as some sugar is probably stuck there - I still haven't figured out a way of avoiding this).

Once you add the butter watch the thermometer and as soon as it reaches 246 F switch the gas off and pour the caramel into the tray. Don't be tempted to scrape the bottom of the pot (burned sugar warning again!).


Leave the caramel for about 10 minutes and sprinkle with sea salt.


Now leave to cool completely for 2 hrs (being very impatient I stuck my tray in the fridge and it worked very well). I cut my caramels before they were drizzled with chocolate, only to do it again once the chocolate set. You live, you learn.


Once the caramel is cool you can melt the chocolate in a bain marie (a glass bowl sat over a pot of simmering water). Drizzle chocolate over the caramel (Jackson Pollock style!), then stick the tray back in the fridge until the chocolate sets.


Cut into small squares and eat. I guarantee you won't stop at just one piece!


PS. Don't be surprised if people ask you to marry them after trying these. Just sayin'.

Friday, 10 August 2012

Lamb and feta meatballs


Ok, I know what you're thinking. I know. Perhaps a more appropriate name for this blog should be (at least at this stage) 'Meatballs, chicken and cake'.
'Meatball Lover'?
'Meatball Obsession'?
But you know what? I like meatballs. So I thought I'd spread the love and post another recipe. We're using lamb this time! Yes, you read that right. No minced turkey. Lamb!

So without further ado, I present lamb and feta meatballs with chickpeas and couscous.

To make enough for two very hungry people (or for a small crowd at a party) you'll need:


500g lamb mince (you can go for a lean version)
100 g feta cheese
1 red onion, finely chopped
1 clove of garlic, minced
1 tbsp ground cumin
1 can of chickpeas, drained and rinsed
120-150 g dry couscous
a small bunch of fresh parsley, finely chopped
salt
pepper
olive oil, for frying

Start off by mixing lamb mince, salt, pepper, cumin and feta cheese. Form small meatballs and heat some olive oil in the pan.


Fry meatballs on medium heat until nice and brown; then, after about 3 minutes add onions, garlic and some chopped parsley. Toss the meatballs in the pan to prevent them from sticking to the bottom.


Prepare the couscous: place in a bowl and cover with hot water or stock. I find that 1 centimeter of water above the couscous level does the trick.

While the couscous is soaking up the water add chickpeas to the pan with the meatballs and stir. Simmer for another 5 minutes adding a tiny bit of water or stock so that the chickpeas don't get dry.


Serve on top of couscous with a sprinkling of chopped parsley and more feta cheese.


Now excuse me while I go to a meatball rehab.


Tuesday, 7 August 2012

Soft raspberry buns


I love baking with yeast. There's something oddly satisfying and exciting about watching a small ball of springy dough double in size into pillowy softness. Woah. Is 'pillowy' actually a word?
Not the most patient of people, I make an exception for baking with yeast. I learnt you just can't rush things. The yeast has to do its thing. It needs time. And warmth. A bit of sugar to start working. Be patient with yeast, the results are worth the wait.


While I always like to try new things, I have a few recipes that I always come back to. Totally foolproof. I already showed you a recipe for chelsea buns (this was actually the first recipe on this blog!); these raspberry buns are another staple.
The recipe comes from one of my favourite Polish food blogs: White Plate. I was mesmerised by the pictures and intrigued by the fact that mashed potatoes (yes, mashed potatoes!) were one of the ingredients. Long story short, these raspberry buns had to be tried. 
The potatoes make the dough very moist and the buns are equally tasty the next day. And don't worry, you totally cannot taste potatoes in the dough!

To make about 10-12 buns you'll need:

The dough
7g (1 sachet) fast action dry yeast
250 ml milk
100 g unsalted butter
450 g plain flour
100 g caster sugar
1/2 tsp salt
100-120 g mashed potatoes, cooled down

The filling
3-4 tbsp creme fraiche
1 tsp cinammon
2-3 tbsp light brown sugar
raspberries

1 egg, for glazing the dough


Start off by preparing the mashed potato - I used half of a big potato. Peel it, cut in smaller pieces and boil until soft. Drain, then put back in the pot and put on the stove on the lowest flame for less than a minute - you want all the water to evaporate. Mash the potatoes and set them aside to cool.

Gently warm the milk in a small pot. You want it warm, but not too hot.
In a small bowl, mix yeast with 1 tsp of sugar, 3-4 tbsps warm milk and 1 tbsp of flour. Set the mix aside in a warm place until it gets frothy.

While the yeast in the bowl is doing its job add butter to the pot with milk and warm through until it's melted. Set aside to cool.


Put flour, mashed potatoes, sugar, salt and melted butter with milk in a big mixing bowl. Add the yeast and mix with a wooden spoon to combine. 


You can either knead the dough by hand (for about 10 minutes) or use a mixer with dough hooks (I chose the second option - laziness!). The dough should be smooth and elastic. Place it in a greased bowl, cover the top of the bowl with cling film or clean tea towel and leave for 1-1.5 hrs until it doubles in size.


 Magic!


Once the dough is ready, tip it out of the bowl onto a lightly floured surface and flatten to punch the air out. Roll it into a long sausage and divide into 10-12 pieces. Form little balls and place them on a baking tray covered with baking parchment. Leave some space between as the dough will be rising again.


Flatten the balls and use a shot glass (or another small glass) dipped in flour to make a dent in each ball of dough. 


Mix all filling ingredients in a bowl and place about a tsp of filling in the middle of each bun. Add about 3-4 raspberries and brush the edges with a glaze made with egg and a tbsp of water.


Set the buns aside in a warm place so they can rise again and double in size. 
Bake for 15-20 minutes in 200 C. The time will vary depending on the size of your buns. 


They taste best slightly warm with a glass of cold milk (or a milky latte!).


Sunday, 5 August 2012

Instagrub and more

I forgot to post the instagram pictures last week, so you've got a double portion this week! If you want to follow me my username is marushka82. Happy Sunday!

Monmouth iced coffee - delicious

Moorish crunch salad with chicken

little treat

ice tea!

calamari

Cookie Monster ice cream in Muswell Hill

Favourite beer

Pulled pork wraps with salsa


Moroccan soup for lunch

yesterday's baking - recipe on Tuesday!

Friday, 3 August 2012

Sicilian aubergine fusilli


Once I find a dish I like I can eat it every week. For months on end. Exciting right? But that doesn't mean that I don't like to break the self imposed routine and cook something I never tried before. Most of the time I go for weird combinations, ingredients I would never dream of pairing with each other. Sometimes it's worth the risk, sometimes not (my husband's face says it all :) 
When I came across Thomasina Miers' recipe I was intrigued. Raisins and pasta? Raisins, capers and pasta?! That sounded weird. So of course I decided to make it and I'm happy to report it's delicious! There's a little sharpness coming from the vinegar (I'm not a huge fan so I reduced the quantity), sweetness from raisins, saltiness from capers and a bit of acidity from tomatoes. Try this if you're stuck in a rut and are tired of more traditional pasta dishes - you'll be pleasantly surprised!

To make enough for two you'll need:


fusilli pasta (3-4 large handfuls)
1 aubergine, cubed
1 red onion, finely chopped
1 clove of garlic, finely chopped or minced
1 small red chilli, finely chopped
1 tin of chopped tomatoes
1 tbsp tomato puree
1 tbsp capers
2 tsp red wine vinegar
50 g raisins
half a container ricotta cheese
2 handfuls of pine nuts, toasted in a dry pan
1 tbsp dried oregano
salt, pepper
few mint leaves, finely chopped
olive oil

Finely chop onion, garlic and a deseeded chilli, then start frying in a large pan with 2 tbsps olive oil.


Chop aubergine into discs, then cubes and add to the frying pan. Fry on medium heat until aubergine softens - about 5 minutes. Add salt, pepper and oregano.


In a separate pan, fry raisins with a teaspoon of oil on low heat until they puff up, then add to the aubergine/onion mix with puree and tomatoes. Cook on a medium heat for about 10-15 minutes so that all the flavours come together, then add capers and red wine vinegar.


While the sauce is bubbling away cook pasta in plenty of salted boiling water, then drain and toss with the aubergine sauce until nicely covered.

Serve sprinkled with mint, pine nuts and dollops of ricotta. Yum.


Related Posts Plugin for WordPress, Blogger...